The Ultimate Gift Guide is supported by readers like you. When you click on links and buy products through our site, we may earn a commission. How we make money
DIY Gift Wrapping Ideas in 2023 (Guide to Wrap Gifts Like a Professional)
While the prospect of receiving presents is enough to excite anyone, diy gift wrapping and the presentation can add a lot to it. If you have ever received a lot of gifts on your birthday or Christmas, it’s likely that the most-nicely presented one appealed to you a little more than the rest. After all, a gift is always more about the love, intentions, and effort you put into preparing it. Not to mention, a nicely-wrapped gift box can leave you all the more excited and wondering what you might find inside.
So, it is important that you consider how you’d like the recipient to think about your presentation of the gift. Of course, you would like that your kid, spouse, parent, or friend to be filled with wonder and excitement as soon as you hand over your present.
But still, perfectly wrapping a gift is a struggle. While it may be more of a hobby for some people, others find it quite hard a task to wrap a gift.
In this post, we will list down some amazing diy gift wrapping ideas for all occasions. In addition, we’ll give you the ultimate gift wrapping guide. Read on to learn all there is to know about wrapping a gift so good that it leaves the recipient stunned.
Why Does Wrapping A Gift Matter?
No matter the occasion, choosing a gift for your loved ones is only half the effort. You may have gotten their dream gift, but you might end up devaluing the gift if you don’t pack it right. Wrapping a gift matters more than most people can think or imagine. Here’s why.
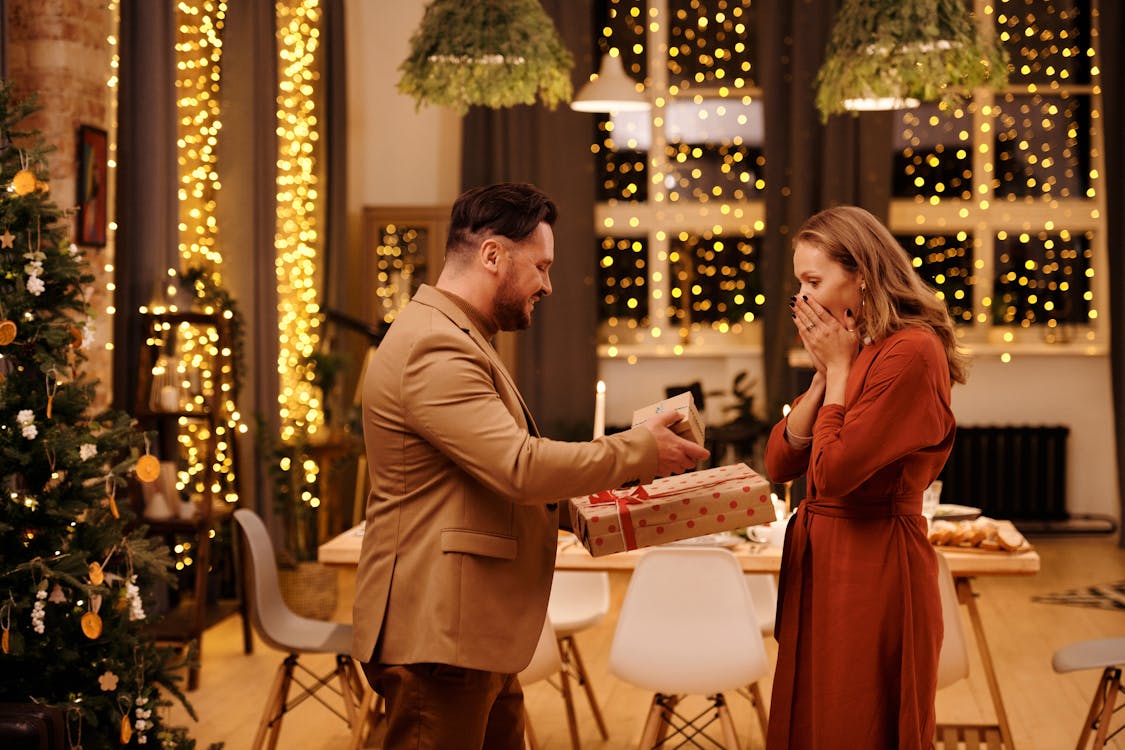
1. Leaves a Positive Impression
While it sounds like a cliché, the first impression that people or things can make is usually the last one. It can really lead and affect our attitude and options towards people and things. So, it is incredibly important that you pack your gift nicely if you want to leave a good, positive impression on your colleague, friend, boss, or even a close relative.
Think about it, how would your boss feel if you left them a poorly-wrapped gift? While you may have selected the best present you could afford, the way you wrap it can make or break your reputation and personality in front of your colleagues and boss.
So, keep in mind that how you wrap a gift tells a lot about the gift and the giver. Surely, you want to make a positive impression.
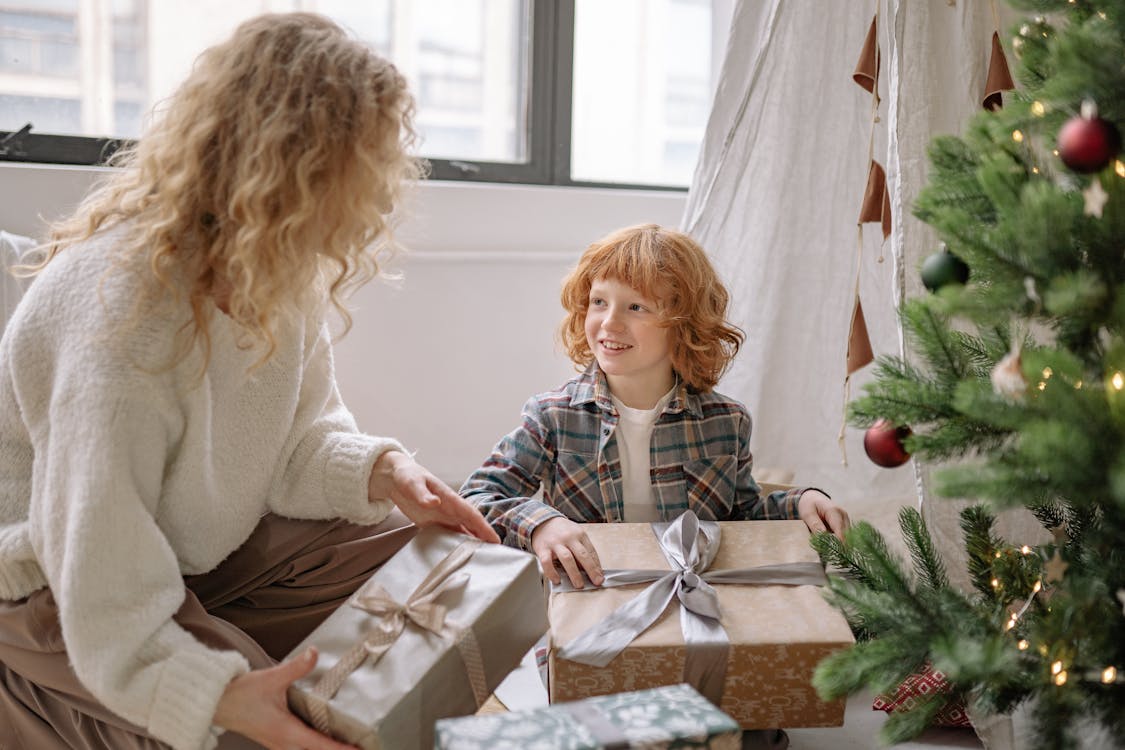
2. Adds to the Surprise
While some of us enjoy getting random little gifts for our loved ones, most gifts are given with a certain purpose. One of the most important reasons is to surprise your recipient. Even people who like to bring lots of presents for their kids or spouses on casual Tuesdays do it to leave them surprised.
You’ll certainly leave the recipient feeling excited and happy if you wrap your gifts in a way that sparks anticipation and curiosity. While wrapping on a gift will build excitement, the process of unwrapping it can lead to a lot of surprises.
So, it is important to first hide your present in a nice gift wrapping to achieve your goal of surprising the recipient. An unwrapped gift won’t bring as much excitement, and similarly, there is nothing appealing about poorly wrapped and poorly presented gifts.
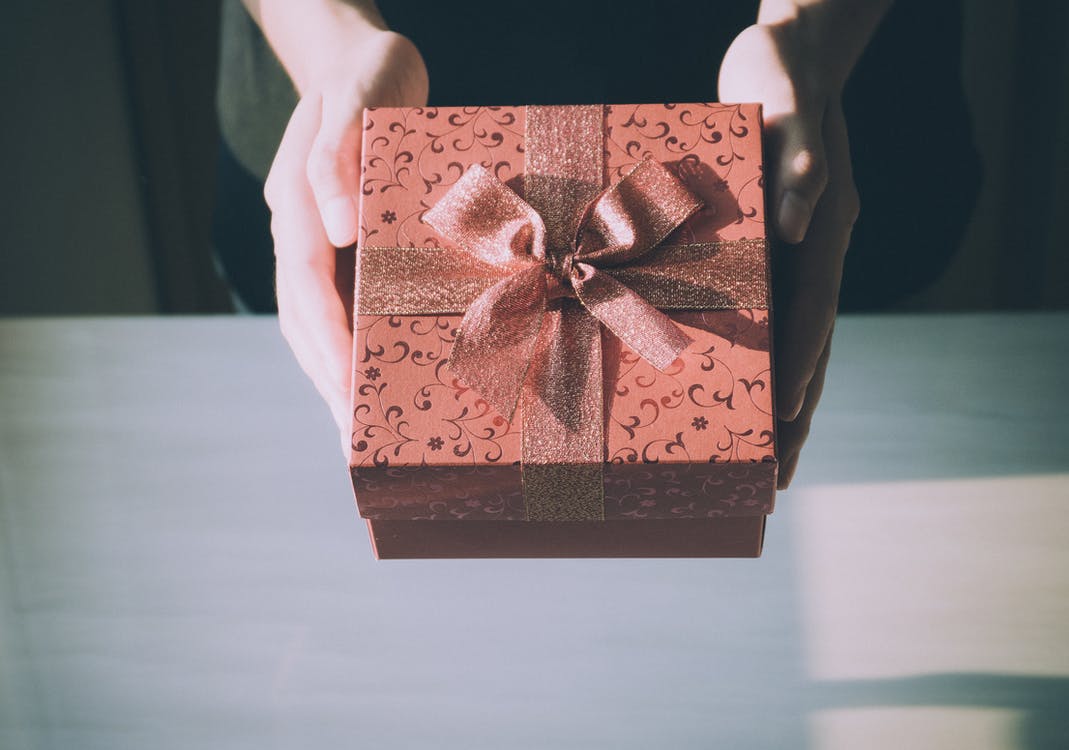
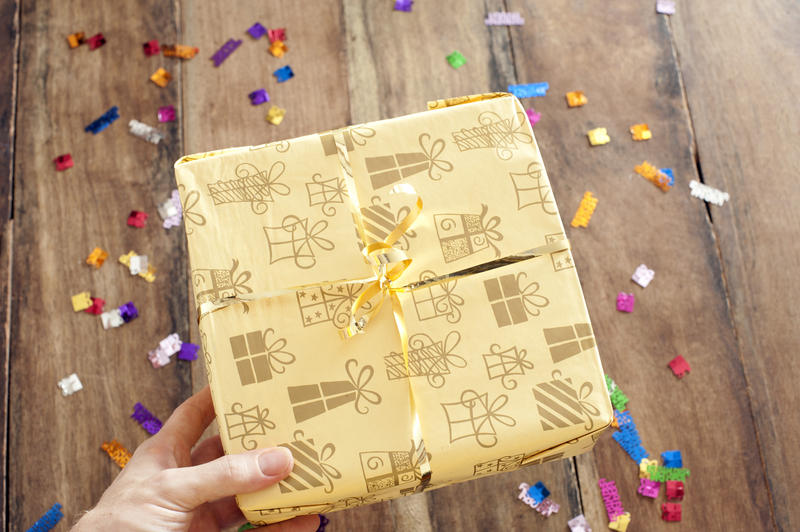
3. Makes Anything a Gift
Let’s face it; a gift is not a gift until it’s covered in a nice diy wrapping paper. After all, a t-shirt is just a t-shirt, and a necklace is a mere necklace if you don’t pack and present it as a gift. This is mainly due to the expectation and mental picture we have of what a gift looks like. It is no surprise that you can even call a candy bar wrapped in diy Christmas wrapping paper a gift.
Any product wrapped in colorful wrapping paper, wrapping paper ribbons, bows, cards, and other decorative accessories can be a gift. After all, these are the things that make a real gift. Not to mention, gifts look somewhat ‘naked’ and boring without these attributes.
Not to mention, another aspect that really makes any gift a gift is the time and effort put into it. While you may have spent a lot of and put in a lot of effort into choosing a gift that your loved one would like, it is the wrapping that represents your effort and affection.
DIY Gift Wrapping – Things to Remember
It is true that gifts, especially well-wrapped gifts, are everyone’s favorite. And while we love gifts that are thoughtfully and beautifully packed, not a lot of us like to pack gifts. You may have searched for the best diy Christmas wrapping ideas or birthday present packing ideas. While they may be fun to read and watch, how many have actually enjoyed the gift-wrapping process?
According to a survey, 30% of Americans admit to finding it boring and even worse than house chores, such as taking out the trash or doing the dishes.
Wrapping a gift is indeed a struggle as it requires a lot of patience, effort, and time. Not to mention, creativity is a big factor that holds a lot of importance for good gift-wrapping. Besides, diy gift wrapping involves multiple stages, so if you mess up at one stage, you have to start over. While a lot goes into gift packing and wrapping, here are a few things that you must always consider when wrapping a present.
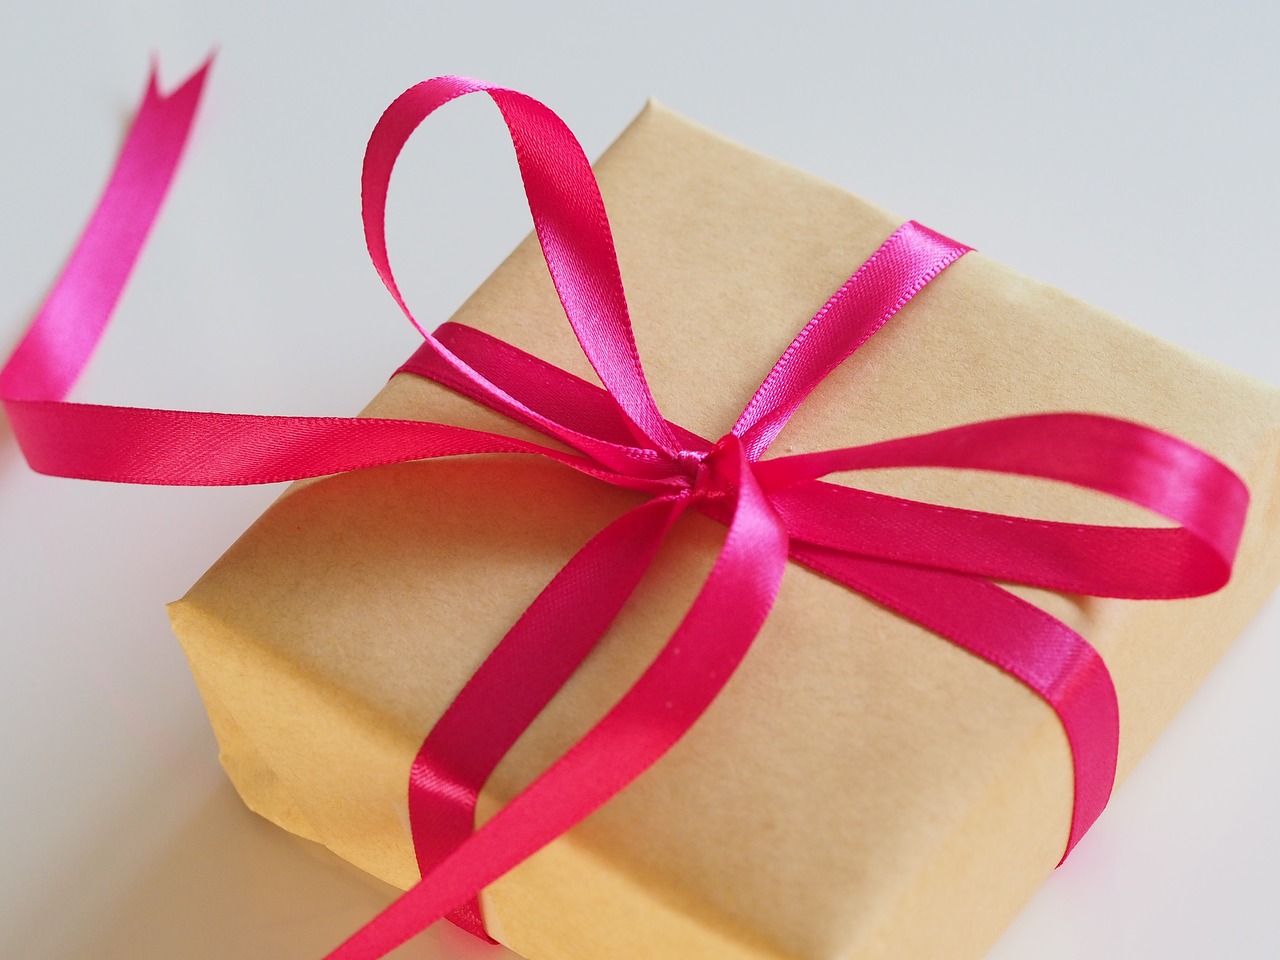
Keep it neat
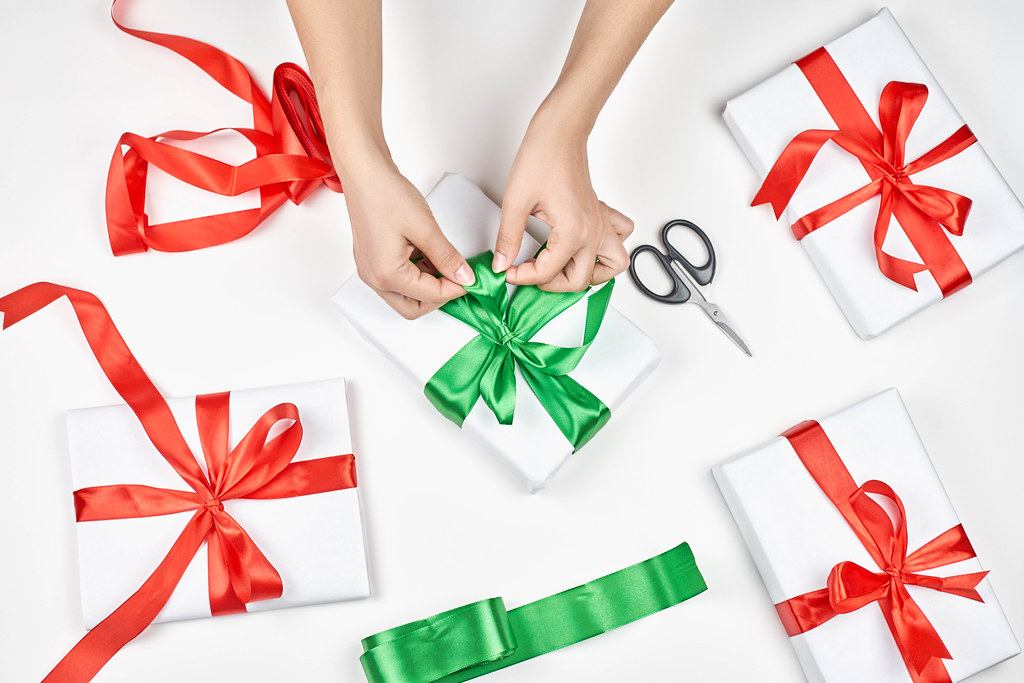
(Source)
It’s a good idea to wrap a gift yourself instead of hiring a professional, no matter how bad you are at it. But even so, remember that sloppy and messy wrapping can devalue your gift. So, make sure you try your best and put in extra effort to neatly wrap your gift, if not too extra or beautiful.
Your gift-wrapping should convey that you put in time and effort to make your recipient feel special. While it may be difficult to wrap a gift perfectly, putting in a little time into getting crisp and neat edges shows how much you wanted your loved one to get the perfect gift.
Ideas:
- Measure your paper
- Hide the tape
- Fold exposed edges
- Wrap it tight
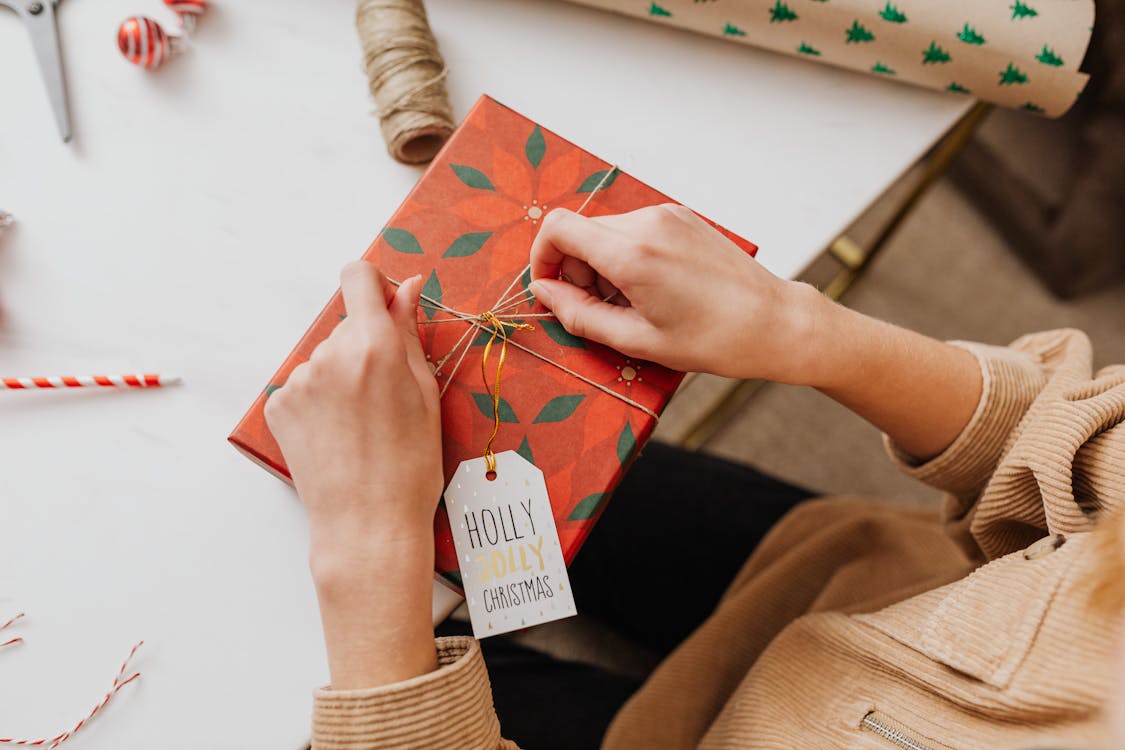
Make it Personal
(Source)
Since you want to present a gift to make your recipient feel loved and important on a special occasion, your gift-packing should show it well. While a thoughtful gift will make them feel important, going the extra mile always makes a big difference.
Make sure you add a personal touch to your gifts by using something that is special to you and your recipient. If you are going to present the gift to a close friend or relative, adding a heartfelt tag or note should do the trick. Makes sure you write something that will stick with them for a long time.
Ideas
- Use a gift tag
- Write a note
- Make a joke
- Add in a photo
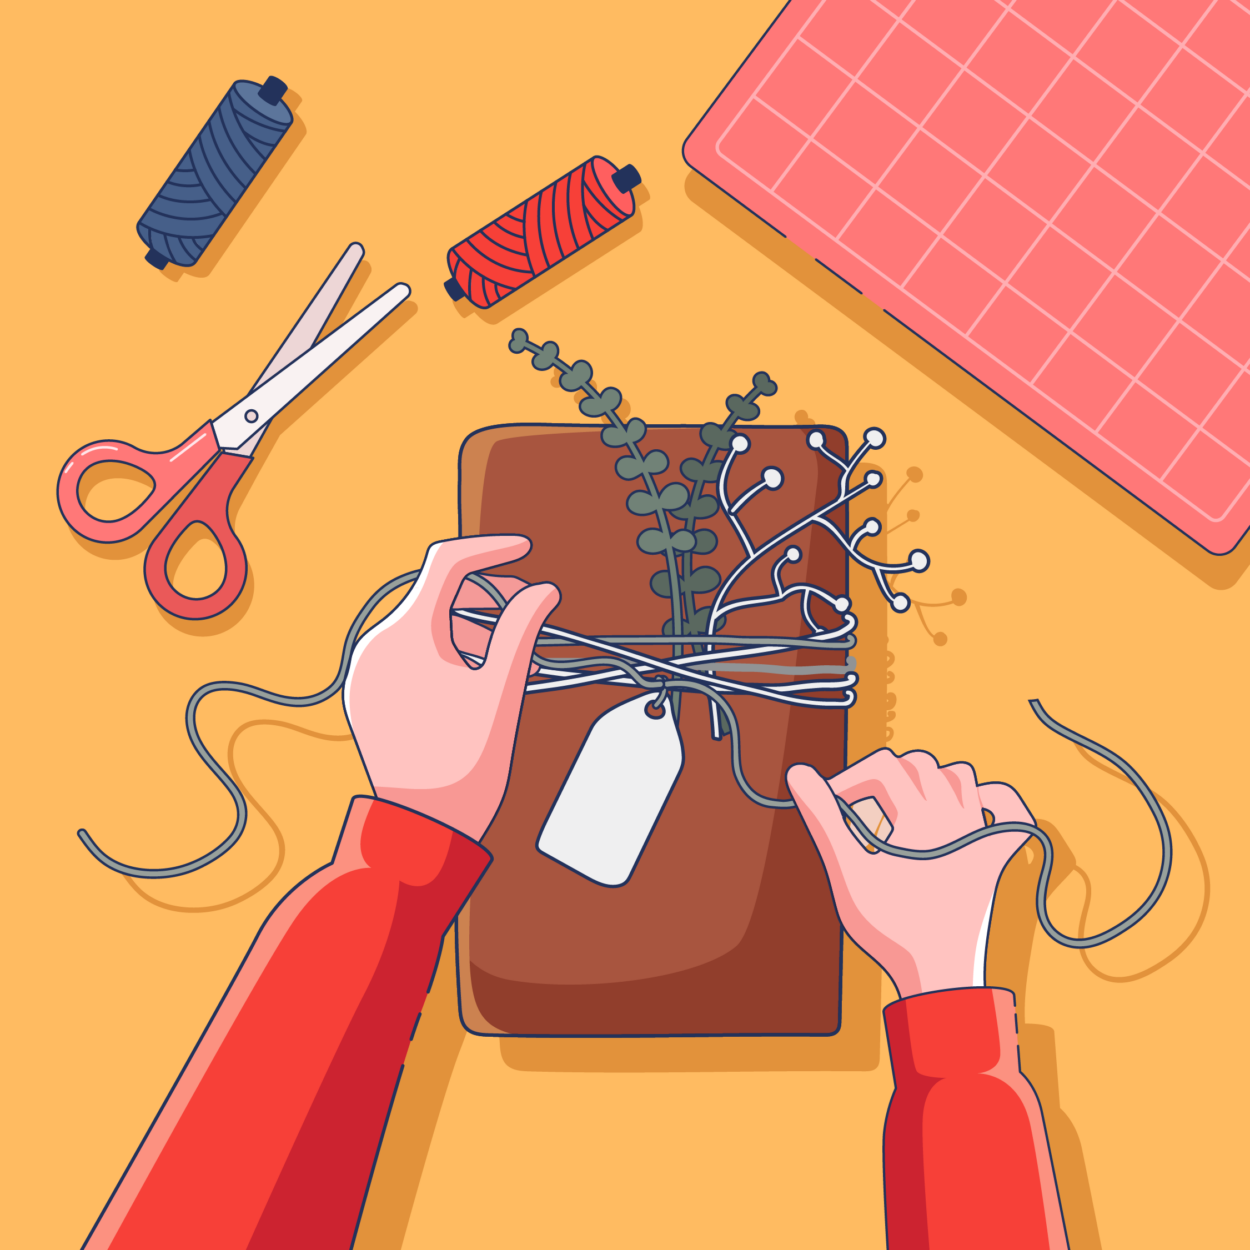
Add a Cute Finishing Touch
Packing a gift is not only about putting it in a box and covering it up with gift wrapping paper. Of course, wrapping is a huge part of gift-packing, but you can add a few extras as well. Your gift might end up looking boring if you’re only working with some wrapping paper, tape, and scissors to wrap around your gift.
While you can make gift-wrapping interesting using homemade wrapping paper and handwritten notes, make sure you finish it off with cute details. This will not only enhance the look of your gift but add a personal touch to it as well.
Ideas
- Dried flowers with tape
- Wax stamp to attach a note
- Add a crafty ornament
- Leaves or other kind of foliage
Basic DIY Gift Wrapping- Step-by-Step Guide
Wrapping a gift is a hard task for a lot of people. If you are someone who struggles to wrap a gift box, here is a step by step to help you out.
All the Gift Wrapping Necessities You Will Need
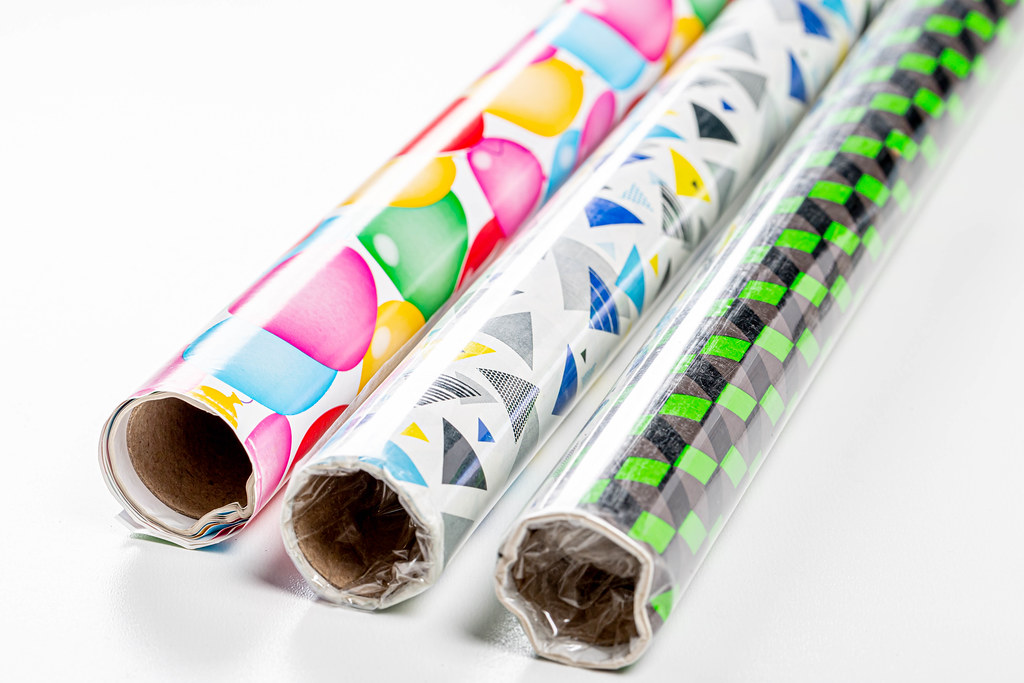
(Source)
- Wrapping Paper
- Gift Box
- Scissors
- Ribbon
- Double-sided Tape
- Accessories
- Paper-cutting Tool
- Gift Card/Gift Tag
- Gift Bag
Step #1- Measure and Cut Your Wrapping Paper
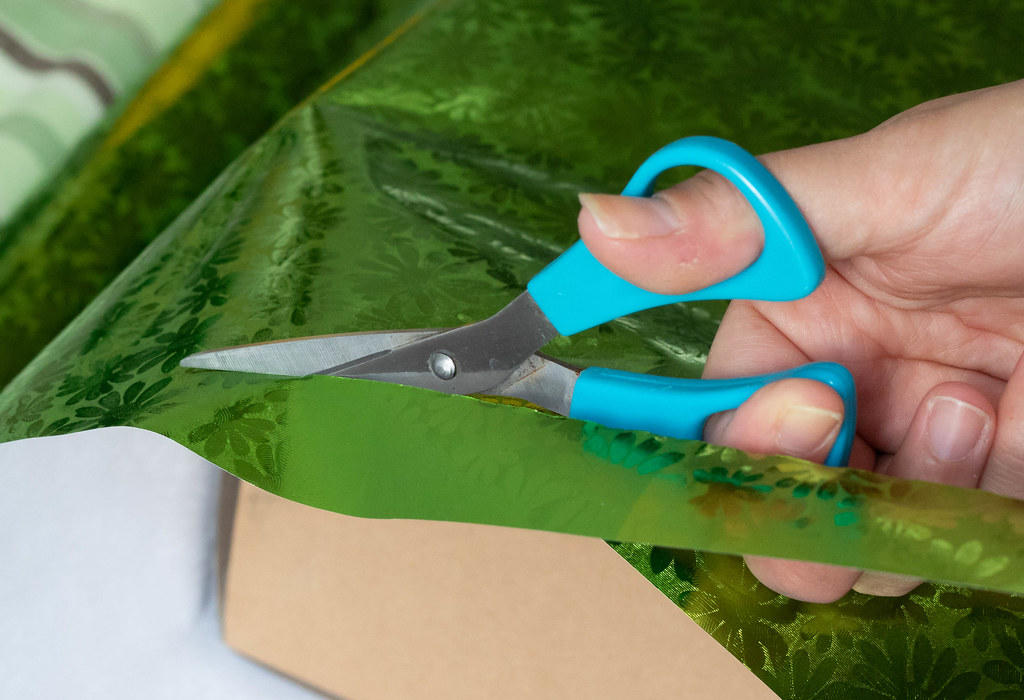
(Source)
Choose a wrapping paper of your choice. Make sure that it resonates with the occasion and your recipient’s preferences. If you want to make it more personal, you can opt for homemade wrapping paper made from newspaper and magazine covers.
Pull out wrapping paper, leaving it attached to the roll. Lay down the paper and then place your gift box upside down onto it. Now, use a pair of scissors to cut the wrapping paper along one side. Make sure you cut it long enough to cover both sides of the box.
Step#2- Fold over Wrapping Paper
For this step, you want to go over and stand on the side of the roll if you are still a newbie at wrapping gifts. Now, tightly pull the wrapping paper from under the box until it’s a little over the end of the box.
Use tape (preferably double-sided tape) to stick the paper to the box. Next, use your forefinger and thumb to make a nice crease on the wrapping paper. This helps ensure that your gift doesn’t have any bumps.
Step #3- Join the Ends
(Source)
Now, it is time that you unroll the paper for it to meet the ends that you have already attached to the box. You will need to cut the paper from the roll at this point. Make sure you correctly measure how much paper you’ll need to cover the box. Not to mention, it is also best if you leave an extra inch.
Use the paper to cover the upper surface of the box and adhere it to the other end using another piece of double-sided tape. You can crease the extra inch along the fold and fold it under.
Step #4- Close the Open Ends
Once you cover both the lower and upper surface of the box with wrapping paper, it is time to tackle the open ends. Before that, make sure your wrapping paper is tight and secure before you begin closing the ends.
It is best to stay patient and close one end at a time. You will need to turn the gift box to expose an open corner. Push the paper on the inside by making 4 flaps. These paper flaps should create a 45-degree angle. Then, crease along the flaps.
Step #5- Fold a Flap

(Source)
Once you perfectly crease all 4 of the 45-degree paper flaps, you can move on with folding them to close the open area. First, take the flap on the top and fold it down by sharply creasing it along the top of the box.
After folding it down, it is time to stick it. Start off by creasing the flap once again. This time, do it where it meets the bottom of the box. Cut the extra paper and use tape to adhere it to the box.
Step #6- Tidy Up
It is extremely important for your gift to look neat and nice. This suggests that your gift should only use as much paper as it requires. So, make sure you get rid of any excess wrapping paper.
If the bottom flap has any extra paper, you can either cut it off or fold it under so that it perfectly lines up with the top of the box. Make sure you pay close attention while you follow this step. Now, apply a piece of double-sided tape on the bottom flap and fold it over the already-attached top flap.
Step #7- Close the Other Side
(Source)
Once you secure one end of the gift wrap, you can move on to the other side of the gift box and close it too. Make four 45-degree flaps and fold the top flap. Then, attach the double-sided tape to the bottom flap and fold it over the top flap. Make sure you correctly repeat steps 4 to 6 to close this end.
Once both sides are closed and secure, it is time to finalize it. Use your forefinger and thumb to run along the edges, making sharp creases.
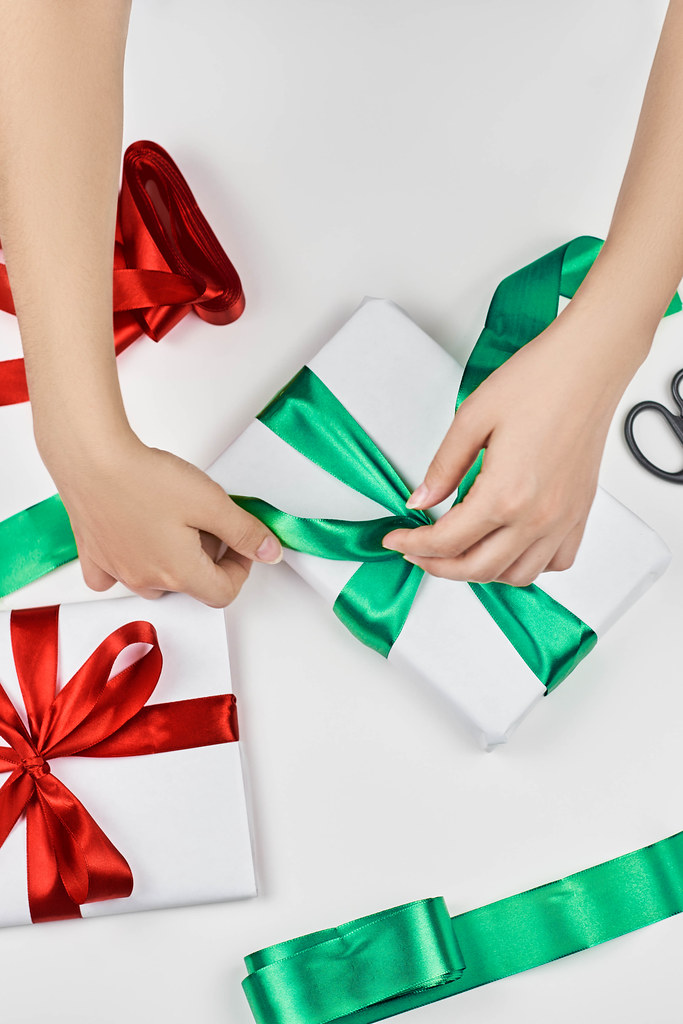
Step #8- Add a Ribbon
Now that you have wrapped your gift box with wrapping paper choose a ribbon to finish it off. You can choose a fancy ribbon or a lace, or even jute rope if that’s the vibe you’re going for.
Lay your gift box face down on the ribbon. Your ribbon should be about five times the length of the box. Now pull over the ends of the ribbon to cross them. You will need to bring the right end over the left for them to cross over.
Step #9- Thread the Ribbon
(Source)
Once you have succeeded at pulling over the two ends of the ribbon in a way that they cross, turn the box over, so it lies facing upwards. Now you must have two ends of the ribbon that are the same length before you thread them.
Make sure you adjust the length of both the ribbon ends to bring them to the same length. Now you can start threading the ends by placing them under the ribbon that is already in place.
Step #10- Knot It
Make sure you correctly thread the ribbon before you start tying a knot. It is best that you only tie the knot once to avoid opening it and retying. This is because doing so can leave creases on the ribbon, making it look untidy.
Adjust the length and tie your ribbon with a neat double knot. Then, tie it into a regular bow. Make sure you follow these steps by pulling the ribbons tautly. Then, use your fingers to shape and form the ribbon.
Step #11- Finish It Up
You can finish off your gift wrapping after you make a bow that sits in the center of your gift box. Cut off the ends of your ribbon to get your desired length.
Make sure you cut both ends to the same length. Then, cut the edges at a 45-degree angle to creaked forked ends. This way, you’re done packing a fantastic gift for a loved one.
Best Gift Wrapping Ideas
Once you have mastered the basics of wrapping a gift, you can start getting more creative with your gifts. Here are some great diy gift wrapping ideas.
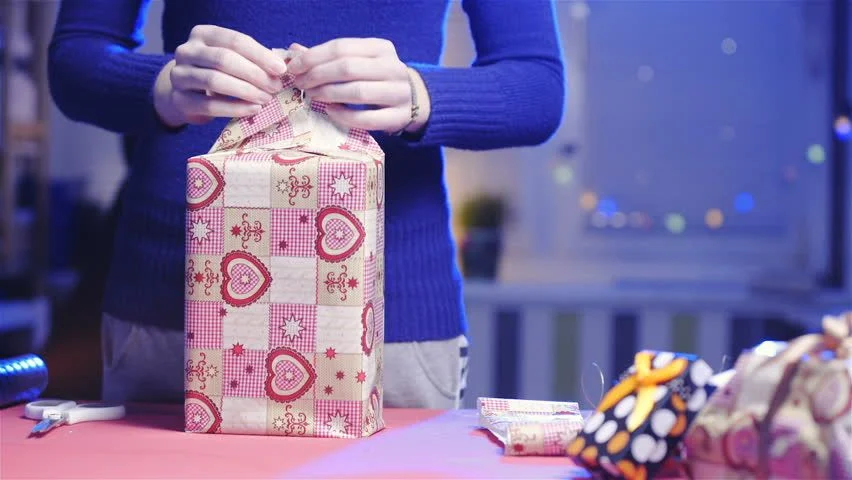
1. DIY Explosion Box
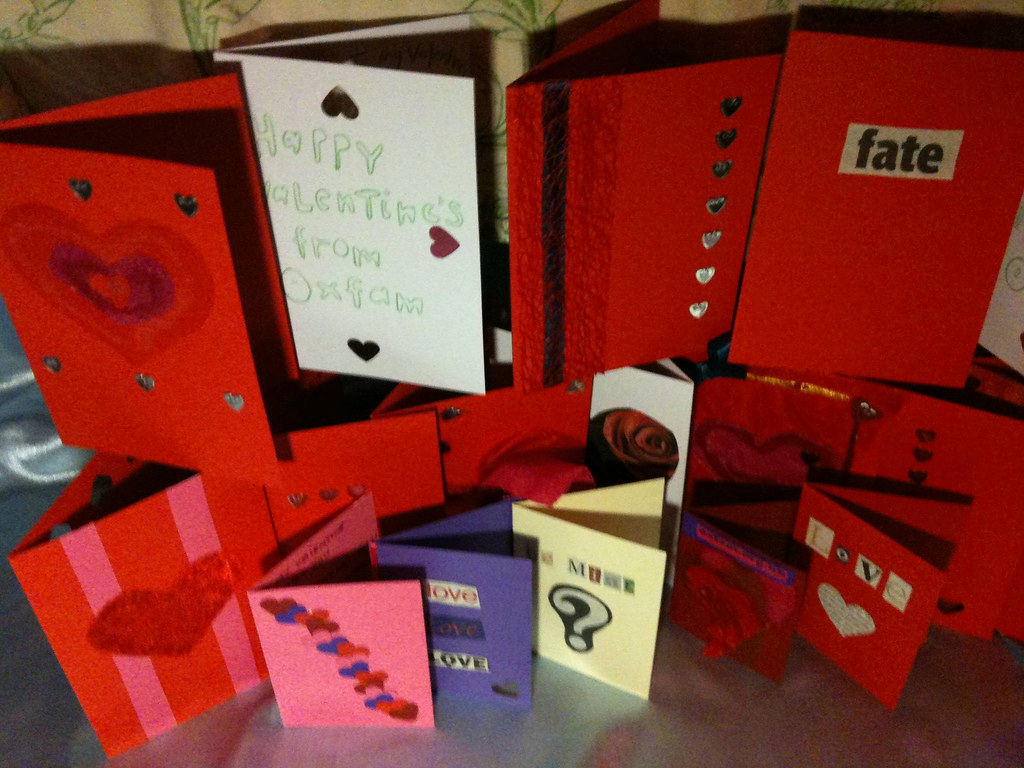
(Source)
An explosion box is a personalized gift packing idea that bursts open and explodes as soon as the recipient takes the lid off of the box. The origami box reveals photos, memories, and messages on each flap of paper.
This fun gift wrapping idea is especially good for smaller-sized gifts for family members and spouses. We say this because the box has a lot of room for photos and messages, making it perfect for someone you’re close to. While it is filled with pictures on the sides, it has space right in the middle for gifts such as a car key or ring.
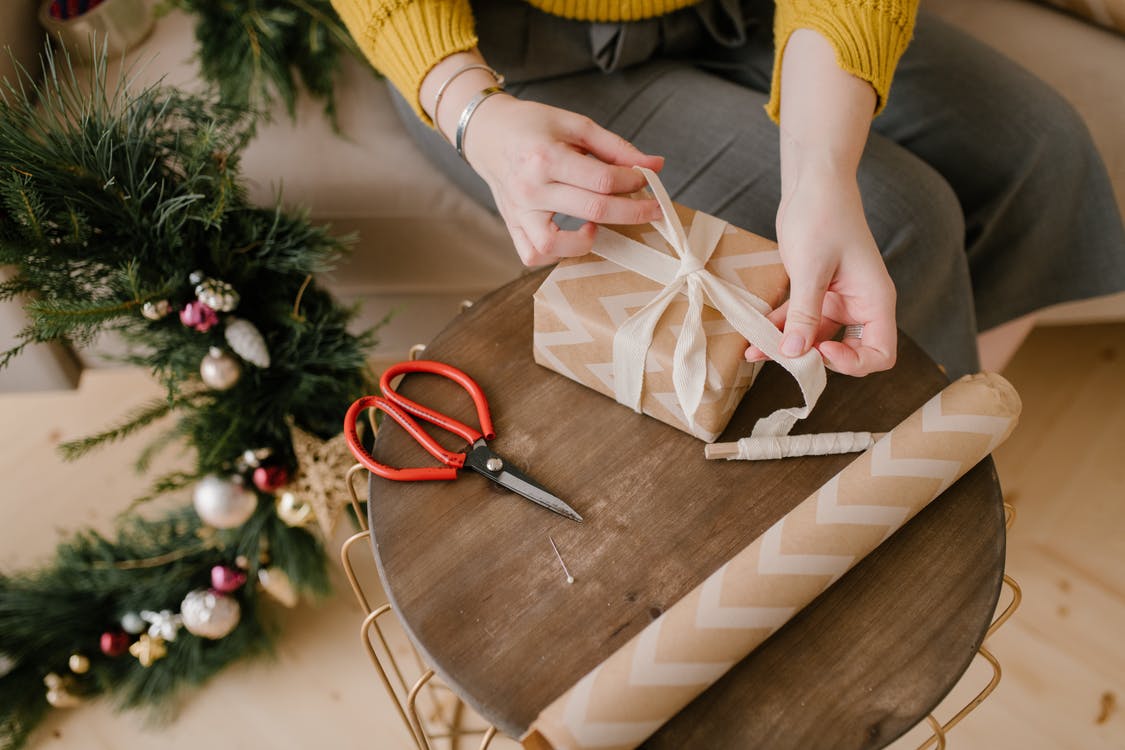
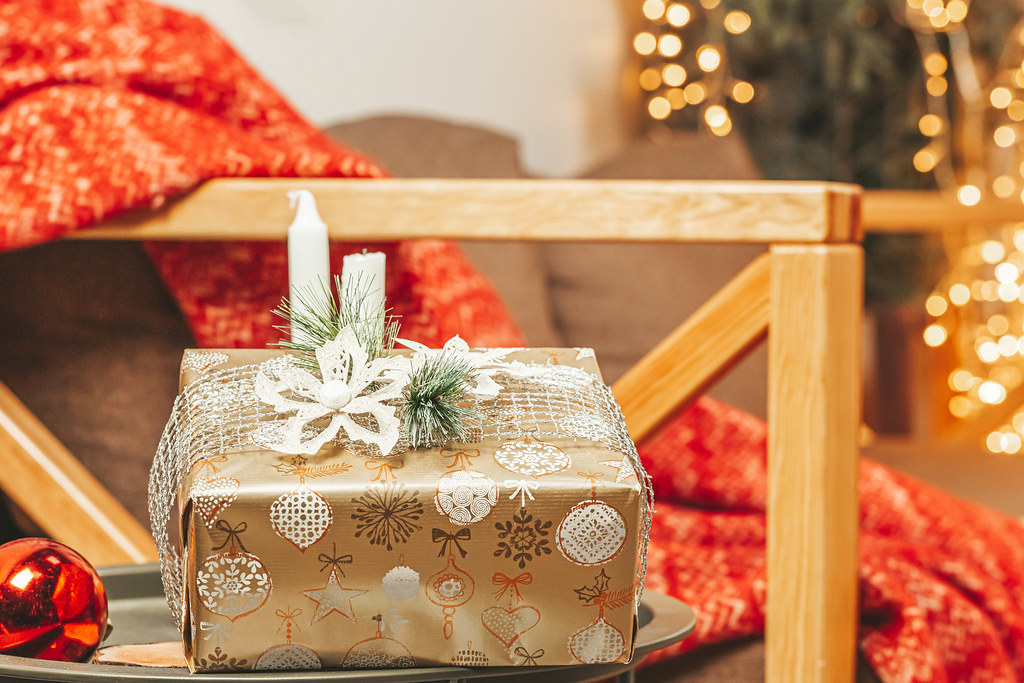
2. Natural Gift Wrap

(Source)
When it comes to wrapping a gift, keeping it natural is never a bad idea. This is especially good if you are packing a gift for someone you’re not as emotionally close to. For instance, you wrap your present in a packing inspired by Mother Nature for a faraway relative, colleague, or boss. Not only will it give a soft and subtle aesthetic, but it is also beautiful at the same time.
You can use kraft paper to wrap your gift in as it has a nice neutral tone to it. Besides, kraft paper is also made of 100% recycled paper. Then, you can grab a flower or leaves and securely attach them to your wrapped gift.
3. Household Materials Gift Wrap
(Source)
Using household materials to wrap your presents is a fun new way to wrap your gifts. This way, you can go paper-free without compromising on a festive-looking gift. It is perfect for adding a seasonal touch to your diy Christmas wrapping or even when you’re wrapping a gift for other occasions, such as graduation or promotion.
All you need to do to sustainably and smartly wrap your gifts is to look around for nice fabric from your local craft store. Or, you can also use scarves, throws, and kitchen towels to place in your gift. Simply place your gift inside the fabric and tie a few knots with a bow to secure the unique gift wrap in place.
DIY Gift Wrapping FAQs
What materials do I need for DIY gift wrapping?
You’ll need wrapping paper, scissors, tape, and any extra small decorations, such gift tags, ribbon, or twine. For a more rustic look, you might also think about utilizing natural materials like leaves or twigs. Depending on the season, you can find a lot of the “extra items” outside without taking a trip to your favorite DIY store.
How do I wrap a gift neatly without tape showing?
When wrapping a gift, first measure and cut your wrapping paper so that it’s slightly larger than the gift. Fold the sides in towards the center, being careful to smooth out any wrinkles or creases. Secure each side by tucking a small piece of tape underneath, ensuring it’s not visible by hiding it under a decorative element or at the bottom of the gift. Repeat this process for the remaining two sides.
How can I add a personal touch to my DIY gift wrapping?
Making your gift extra special by adding a personal touch to the wrapping is an awesome idea. Writing a sincere note, creating a unique gift tag, or personalizing the wrapping paper with drawings, stamps, or other artistic touches are a few methods to accomplish this. Mixing materials, such as using cloth instead of wrapping paper, can also give your gift-wrapping an additional layer of texture and appeal.
What are some easy DIY gift wrapping ideas?
Wrap your gift in a way that is both special and tailored to your own style with these easy DIY ideas. Experiment with newspaper or brown paper bags for the wrapping paper and jazz it up with a vibrant ribbon or twine. Or, opt for a gentle fabric such as a scarf or tea towel to wrap your gift, tying it off with a stunning bow or knot. The main goal is to let your creativity shine and have fun with the process!
How do I make a gift bag out of wrapping paper?
An fun and simple DIY project is making a gift bag out of wrapping paper! Cutting a piece of wrapping paper to the appropriate size beforehand will ensure that it will fit your gift. To create a rectangle, fold the paper’s edges in toward the middle, then tape them together. To create a flat bottom, flip the bag over, fold the bottom edges up, and tape it shut. In order to seal the top, use ribbon or string to fold the top edges down to form a lip.
By adding some enjoyable and imaginative personal touches, you may take your gift bag to the next level! For a distinctive and eye-catching appearance, why not try using patterned wrapping paper or two separate sheets? Another excellent choice is to add a splash of color with a vibrant ribbon or twine. Consider using cutouts from contrasting papers to embellish the bag’s outside if you really want to make it stand out. Even better, personalize it by adding a touching message or the recipient’s name to the front. There are countless options, so use your imagination and have fun with it!
Bottom Line
A lot of people struggle to wrap gifts for birthdays, Christmas, and other occasions. This is simply because it takes up effort and patience. Not to mention, a lot of people still end up with poorly wrapped gift boxes despite putting all their energy into wrapping the gift.
This can be quite discouraging and lead to zero efforts in the gift-wrapping process. However, it is incredibly important for your gift to look presentable as the wrapping can make or break the impression your gift leaves on a recipient.
A nicely-wrapped gift can leave a positive impression, spark excitement, and convey your love and affection. On the other hand, an untidily wrapped one can kill the mood and devalue the gift itself. So, make sure you learn how to perfectly wrap a gift by following the above-mentioned steps.